Showing posts with label refinish. Show all posts

Wednesday, January 4, 2012

Reclaimed Walnut block side table

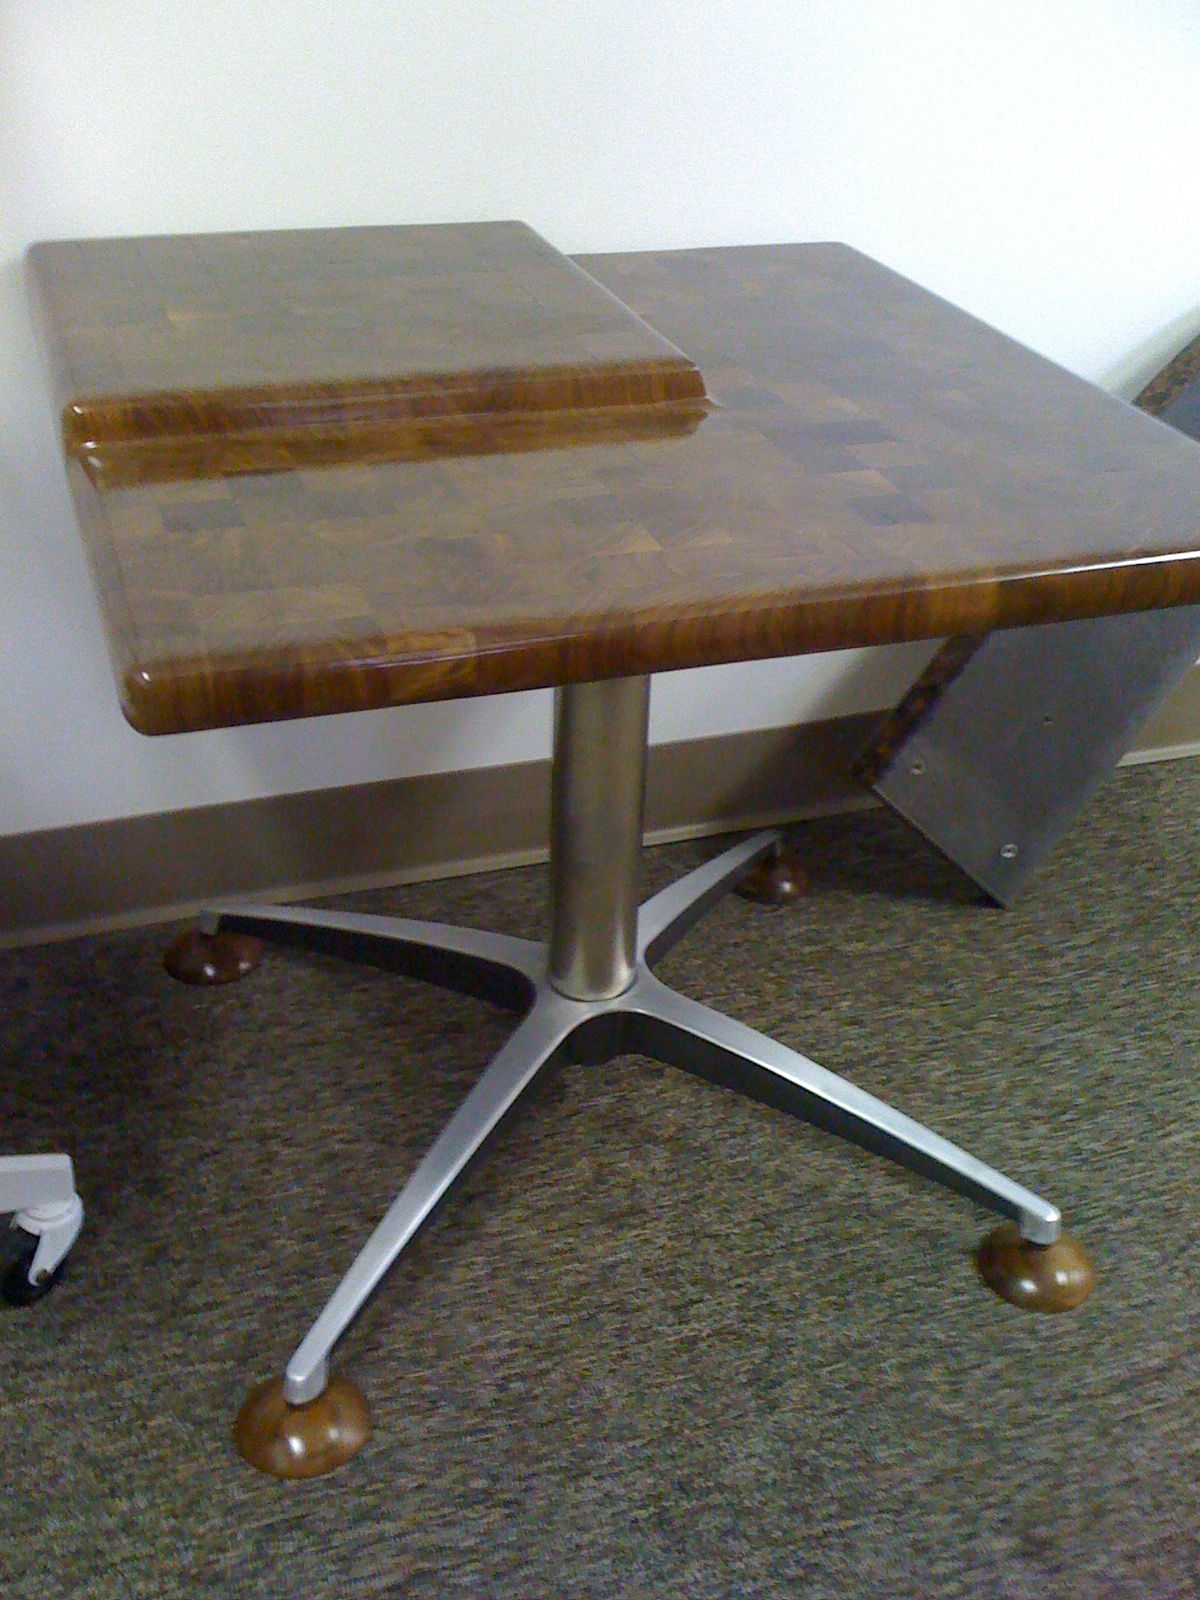
Here is a table I made for The Bottom Line Show.
It is an all reclaimed, solid Walnut side table on a refinished base found at a local junk store.


This is where the table started... the trash box.


The base... needs a little TLC.


After the 'off-fall' boards are cut in to cubes they need to be sanded, all 286 of them...


My first look at everything together.


OK, so... gluing 286 blocks together, fast enough that the first ones are not dry before I got the clamps on was a little tricky.


Much, Much, Much sanding.


I played with a few edge shapes but in the end I just hand sanded a nice big round over.


The base after polishing and painting the underside.
Also I used some more of the scrap Walnut and turned 'suction cup' feet.
They have threaded inserts which make them adjustable.


Sanded to 1000 grit.


Final product.


Getting her ready for the show.


Displayed with a reclaimed Windsor chair mounted on a 1960s task chair base.


Friday, August 20, 2010

Welcome Home Ryles!

Ryles Ellison Gregory
8-7-2010

Finally, our baby bundle is here!!!  We are so thrilled to be parents to this little one---already he is showing us his personality, asserting his own individualistic self everyday in a new way!  Like the unique little person he is,  his "space" reflects his uniqueness.  We like to think of Ryles's room as a happy, restful, modern space.  Of course, as new designer parents who want the best modern look for their baby's room,but don't have the thousands needed for high-end modern baby accoutrements, we did what came natural and that was to design everything ourselves!  

We started with wall paint selection and chose a Sherwin Williams 'No VOC' paint for his room.  Next we designed the crib.  The crib dimensions meet code as well as accommodate all standard crib mattresses and bedding ensembles.  The crib was finished in a non-toxic milk paint and water-based pecan stain. Click Here To See Construction Process for The Crib.  We installed a new ceiling fan with a light dimmer for added room comfort. Plus, we added low and medium-level light fixtures for lighting options (the lanterns from our wedding and a thrift-store find outfitted with a new shade).  The changing station was designed according to how we wanted to change the baby (not just from the front, but also from the side).  Ergonomics played a huge part in this multi-functional piece's design from the beginning. Click Here To See Construction Process for The Changing Station. One day, when Ryles is older he may use this piece as a dresser after a few modifications.  The artwork in the room we made ourselves along with re-finishing the floating shelves and an IKEA chair that coordinates much better now than the mass-produced maple finish that everyone is so accustomed to.  We are very happy with the baby bedding ensemble which we had made (the fabric was discounted and we bought it for $80!!!)  In the end, Ryles got a cool room that matches his uniqueness and we saved ourselves thousands!!