
We honestly feel like we struck gold when we finally found this 1968 brick ranch! Actually, we began the house hunt a year before discovering this fantastic home. The wait was long, but we were patient. The patience paid off because I think that we both could not be happier to have stumbled upon this house which ticks all of our needs boxes!
Our new location is perfect (less than 5 minutes from the grocery store), there's lots of mature trees for shade and privacy along with gobs of space for the family to grow (without looking like an obnoxiously huge home).
[THE NEST]


We still intend to overall the landscaping by doing some yard leveling, adding new plants and a french drain. Ideally, we would love to tear up and re-design the walkway and porch.
[FOYER THEN]

[FOYER NOW]


[DINING ROOM THEN]


[DINING ROOM NOW]
.jpeg)
.jpeg)
[MASTER BEDROOM THEN]

[MASTER BEDROOM NOW]


[MASTER BATH THEN]

[MASTER BATH NOW]
S.jpg)
S.jpg)
S.jpg)
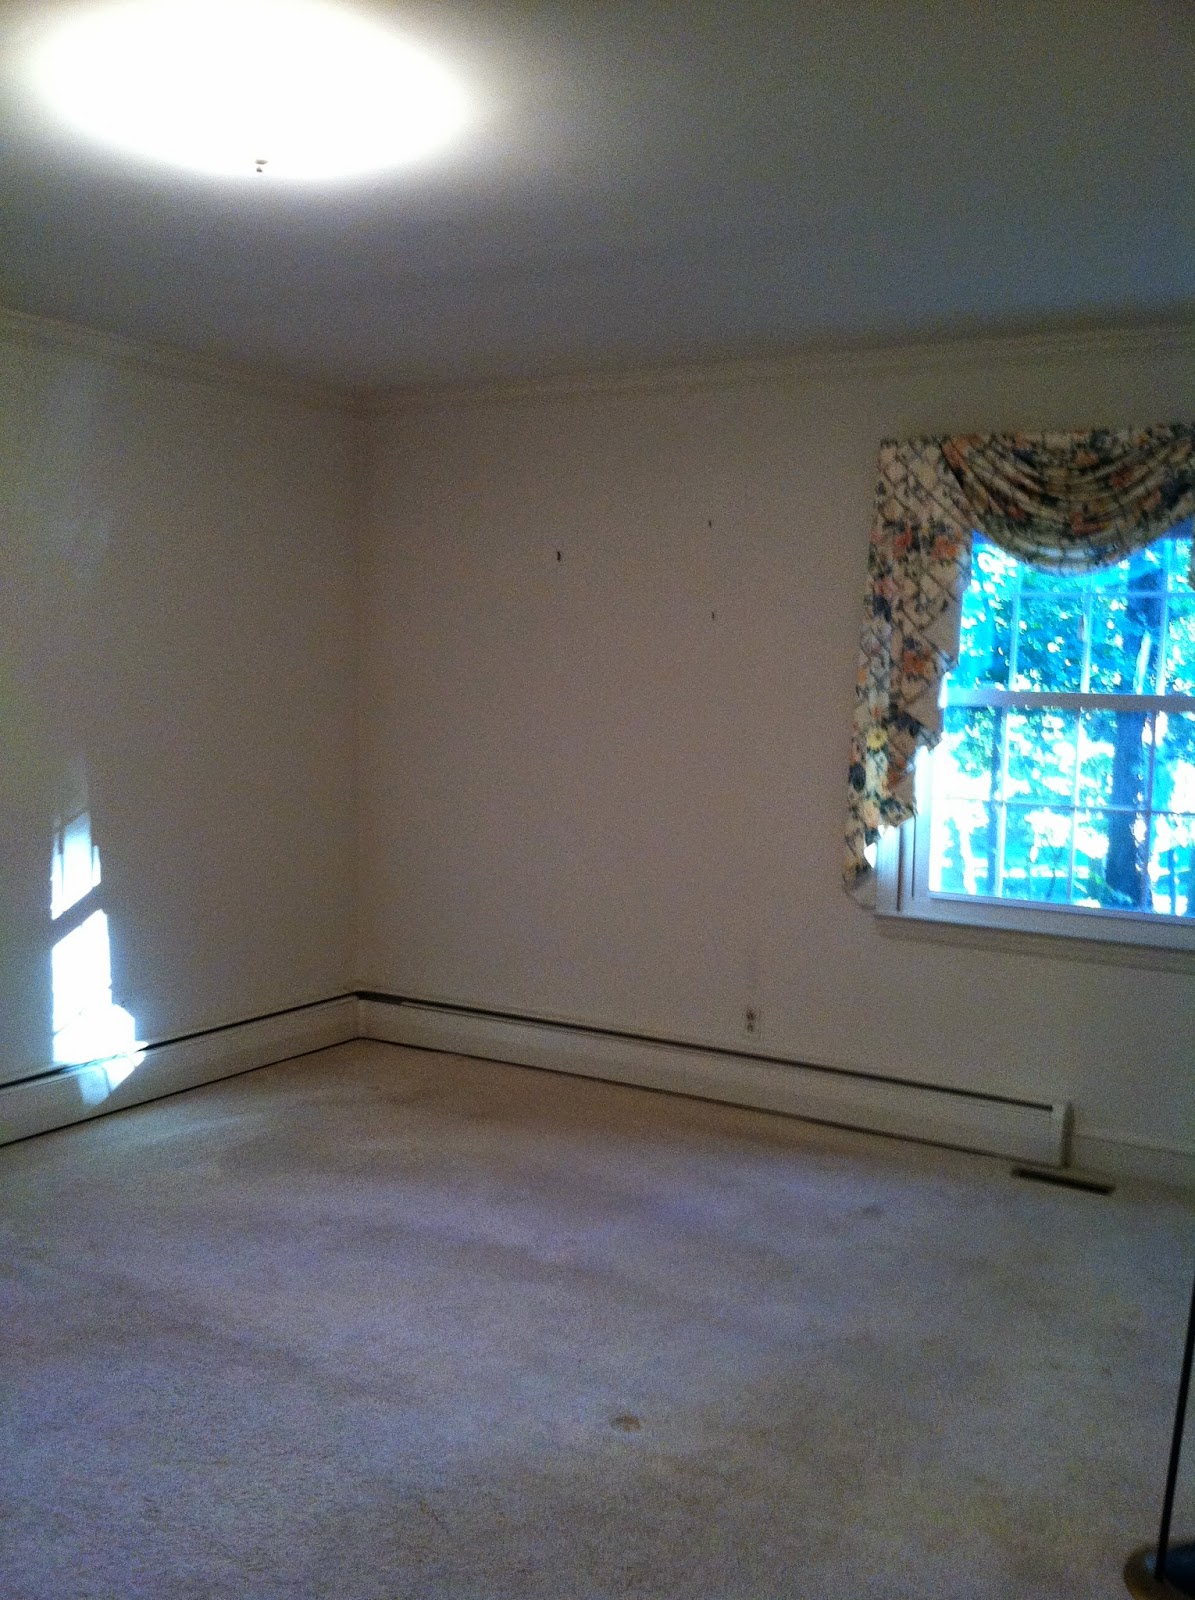
[GUEST ROOM [1] THEN]

[NURSERY NOW]

[GUEST ROOM [2] THEN]

[BIG BOY ROOM NOW]

[HALLWAY THEN]

[HALLWAY NOW]

[HALL BATH THEN]

[HALL BATH NOW]


Counter, floor, cabinetry and plumbing fixtures still need to be re-placed...
[KITCHEN THEN]


[KITCHEN NOW]
(THERE IS STILL A LONG WAY TO GO HERE FOLKS!)


Kitchen Improved? We think Yes! Is it finished? Not Exactly. Still need to re-place appliances, door fronts, counters, back-splash, floor, and would like to add a built-in banquette in the nook area and walk-in pantry.
The fact that paint can give you the most bang for your buck was the obvious first step into transforming our living spaces from drab to fab (for us)! Since we are still a relatively young family, and the tots can tear up a room in the matter of minutes, we decided to execute our room transformation in phases. Phase 1 is always a big brushstroke of color. Phase 2 involves some renovation/construction work like building add-on's and re-placing big furniture and equipment. Phase 3 always involves big and pricey overalls, like flooring and counter tops/ cabinetry replacements.
Of course with the kiddos being so young, ages 4 and 1, we aren't in a rush to gut everything ourselves now. We've been concentrating on Phase 1 for the last two years. Our plan: as our little fellas grow and become a little less destructive, we'll focus on some of our bigger projects (like the kitchen and finishing out our Master suite in the upstairs attic). However, just by updating our living spaces (with paint) in as much of a cost-effective way as possible, we can at least live in a beautiful home that doesn't scream "Granny's Place"!
Special thanks to Urban Compass for inviting us to participate in their "Starter-Stories" feature. They have a very unique real-estate service for finding starter NYC apartments in neighborhoods that match their clients' tastes and personality.
No comments:
Post a Comment